# Copy settings between lasers
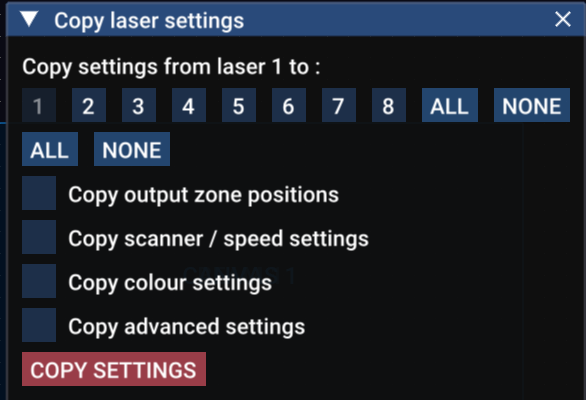
Click on the *COPY LASER SETTINGS* button in *Laser Output* and a new panel will open.
This is an incredibly useful and time saving feature for quickly copying zones and other settings from one laser to the others.
Make sure you have selected the laser you want to copy settings *from.*
Toggle on all the other lasers you want to copy settings *to*. (Use *ALL* and *NONE* to make this quicker if you have a lot of lasers)
Select which settings you want to copy :
* **Copy output zone positions *****-*** copies the zone positions / size / type from one laser to the others. Note that it copies the zones in order, so laser 1 zones 1 and 9 will be copied to laser 2 zones 2 and 10. Alt zones will also be copied.
* **Copy scanner / speed settings** - copies the scanner speed and scanner preset but *not* *Colour shift.*
* **Copy colour settings -** copies all of the colour calibration settings
* **Copy advanced settings -** includes point rate, smooth home position, target frame rate and all the other advanced settings.
When you've made your selection click the *COPY SETTINGS* button to complete the process.