🟩 Canvas overview
The Liberation Canvas system is relatively simple, but it can be confusing at first. Here's a conceptual overview to get you started.
Canvas
First of all, there's the canvas itself. This is what you see in the CANVAS view and represents a large, well, canvas, and you can draw content anywhere within this space.
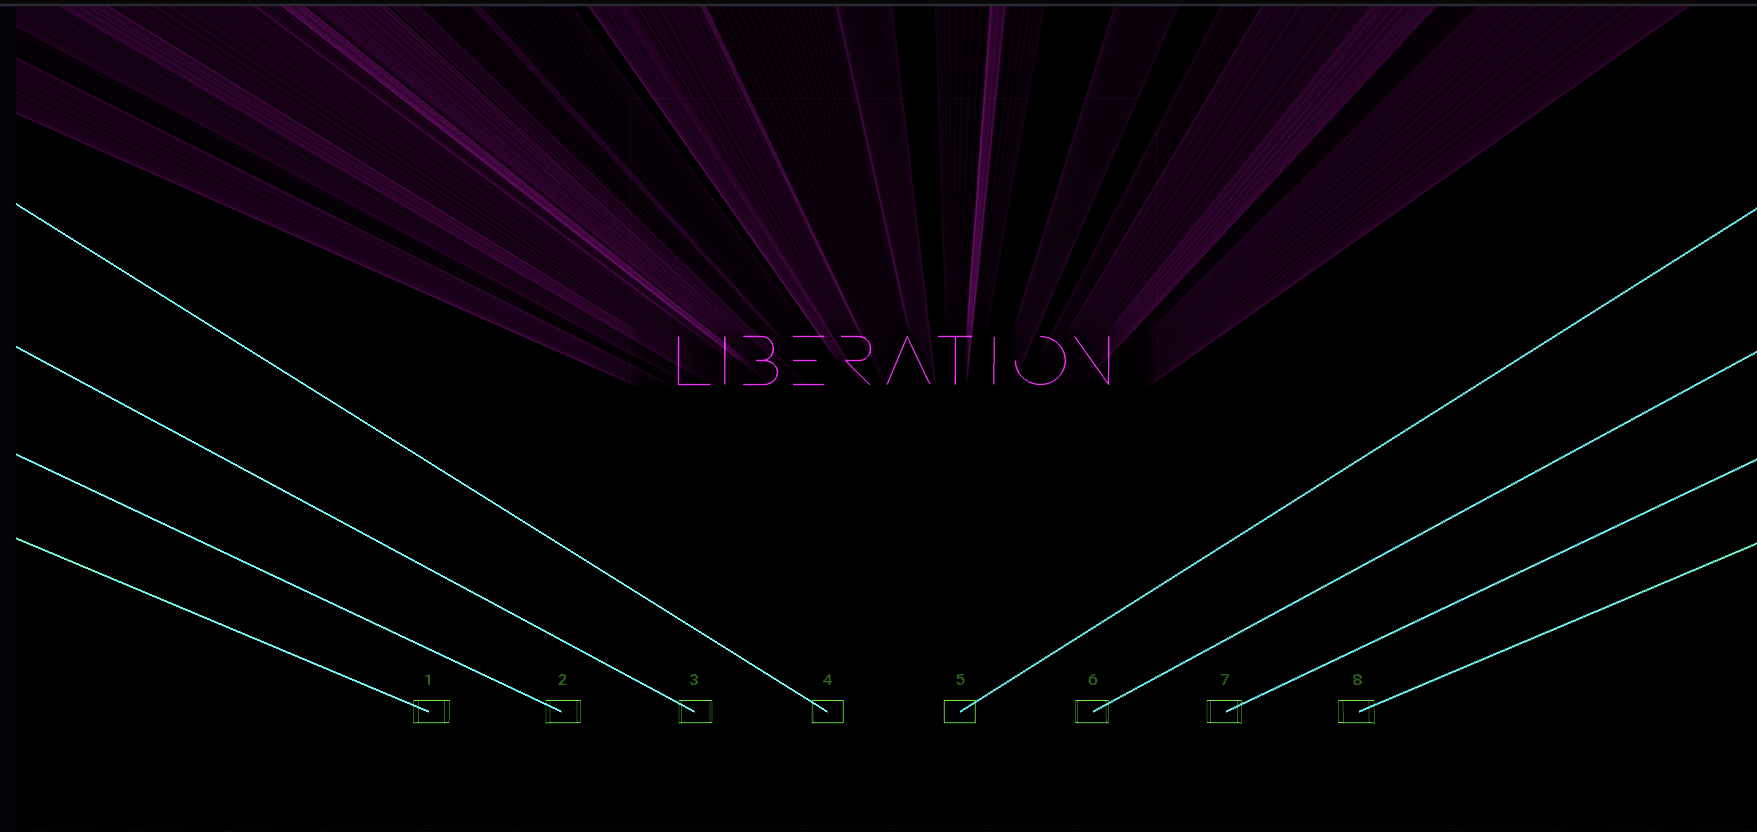
Canvas target areas
These are shown as blue outline rectangles in the canvas view, and these are areas to which you can send content. You send a clip's content to a canvas target area, in the same way that you would send a clip to a beam zone. You'll see the canvas target area buttons to the right of the beam zone buttons in the clip deck.
Canvas zones
Canvas zones are areas within the canvas that you choose to send to a laser. They are represented as pink outline rectangles in the canvas view. You can right-click on each zone and select the lasers you want it to be assigned to. If you now switch to the OUTPUT view for that laser you'll see a new zone has appeared.
Guide images
You can add a guide image into the canvas, and use this as a template for your graphics. It's advisable to adjust the colour tint on the guide image (right-click menu) and darken it down to more easily see your content over it.
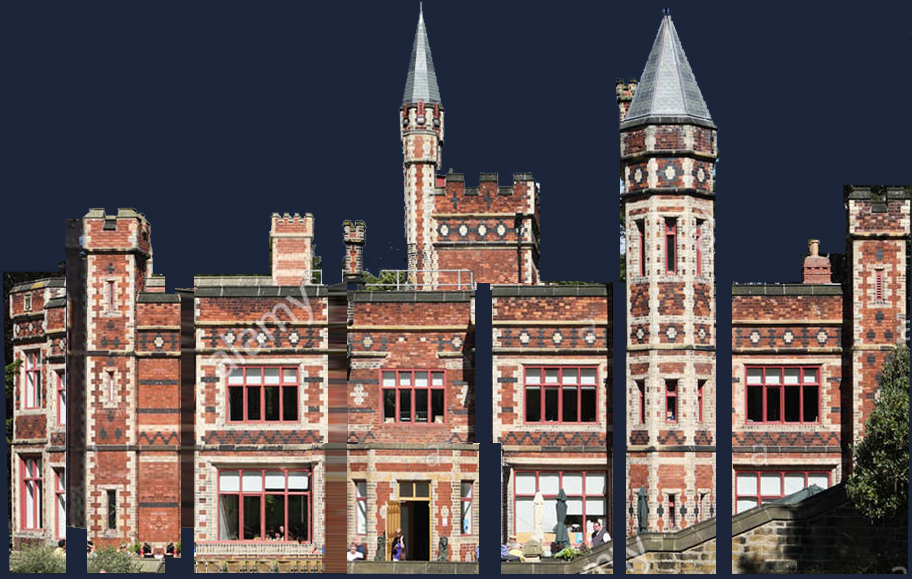
A 'flattened' guide image for Saltwell Hall in Gateshead UK
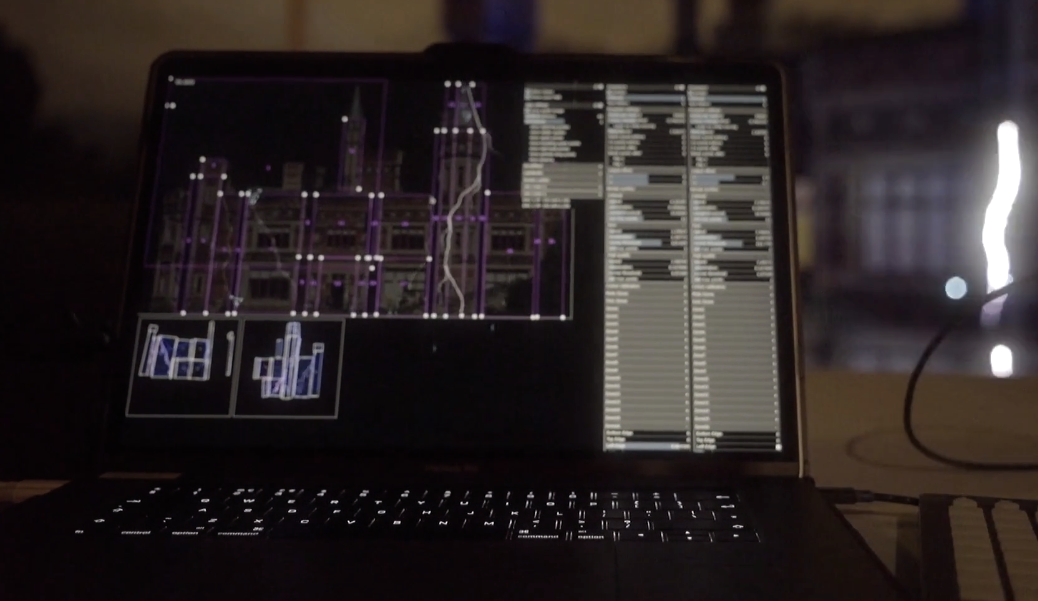
The canvas zones in an embryonic version of Liberation (c2017!) Note the pink rectangles choose which part of the canvas to show, and then the output views below show which part of each laser those zones go to.
Canvas in the 3D visualiser
It would probably be fiddly (to say the least) to recreate your complicated multi-laser projection system in the 3D visualiser! So instead, you have the option to place your canvas within the 3D space. Activate the Show canvas checkbox in the 3D visualiser settings panel. (Any guide images you have in the canvas will also show up in the visualiser.)
It can be extremely satisfying when you line up the beams from the laser with the canvas image in the 3D visualiser!